This design is super simple and super fun! All you need is some fabric, thread, stabilizer and stuffing. You will need two pieces of fabric for the body of the tooth, front and back. The pocket is made by pressing a piece of fabric in half. The finished piece of pressed fabric should be about 2/3 - 3/4 the size of the tooth. We used a contrasting fabric for the backside pocket.
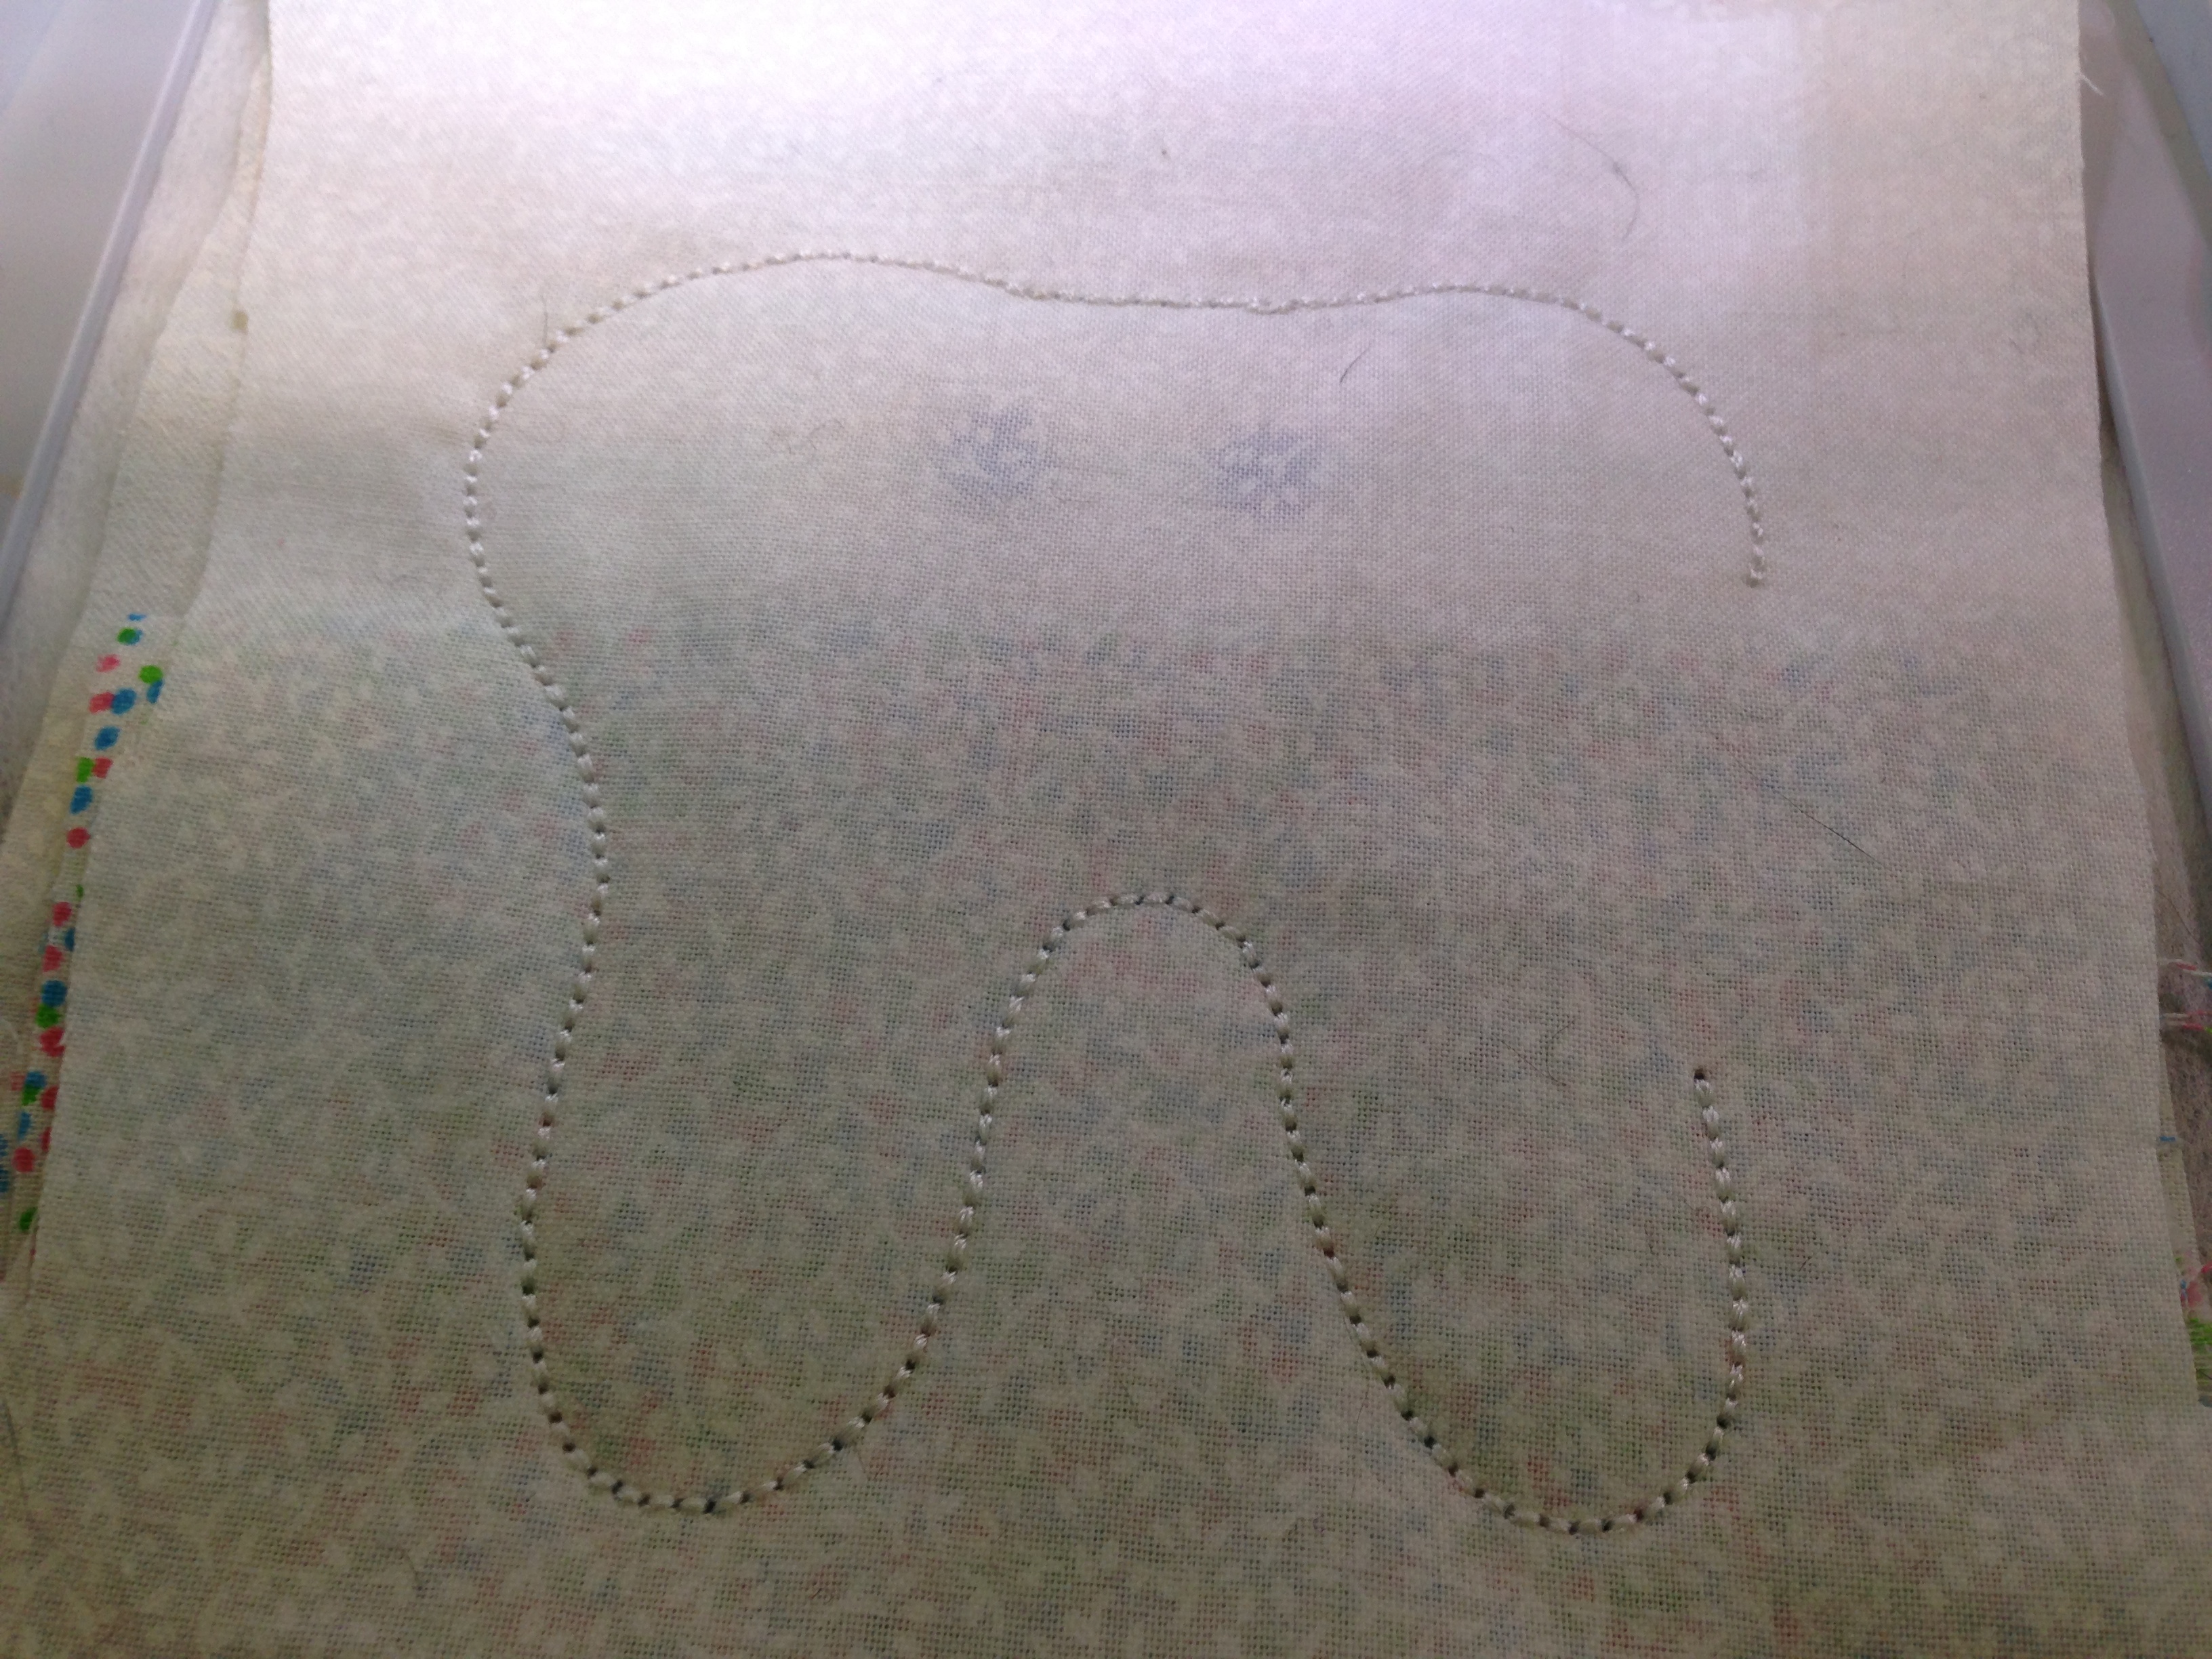
Hoop only your stabilizer and sew step one. This is the die-line for the pillow. Place the pillow fabric over the die-line and sew step two. This is a tack-down. Sew step three, the eyes. Next, step four, the mouth.
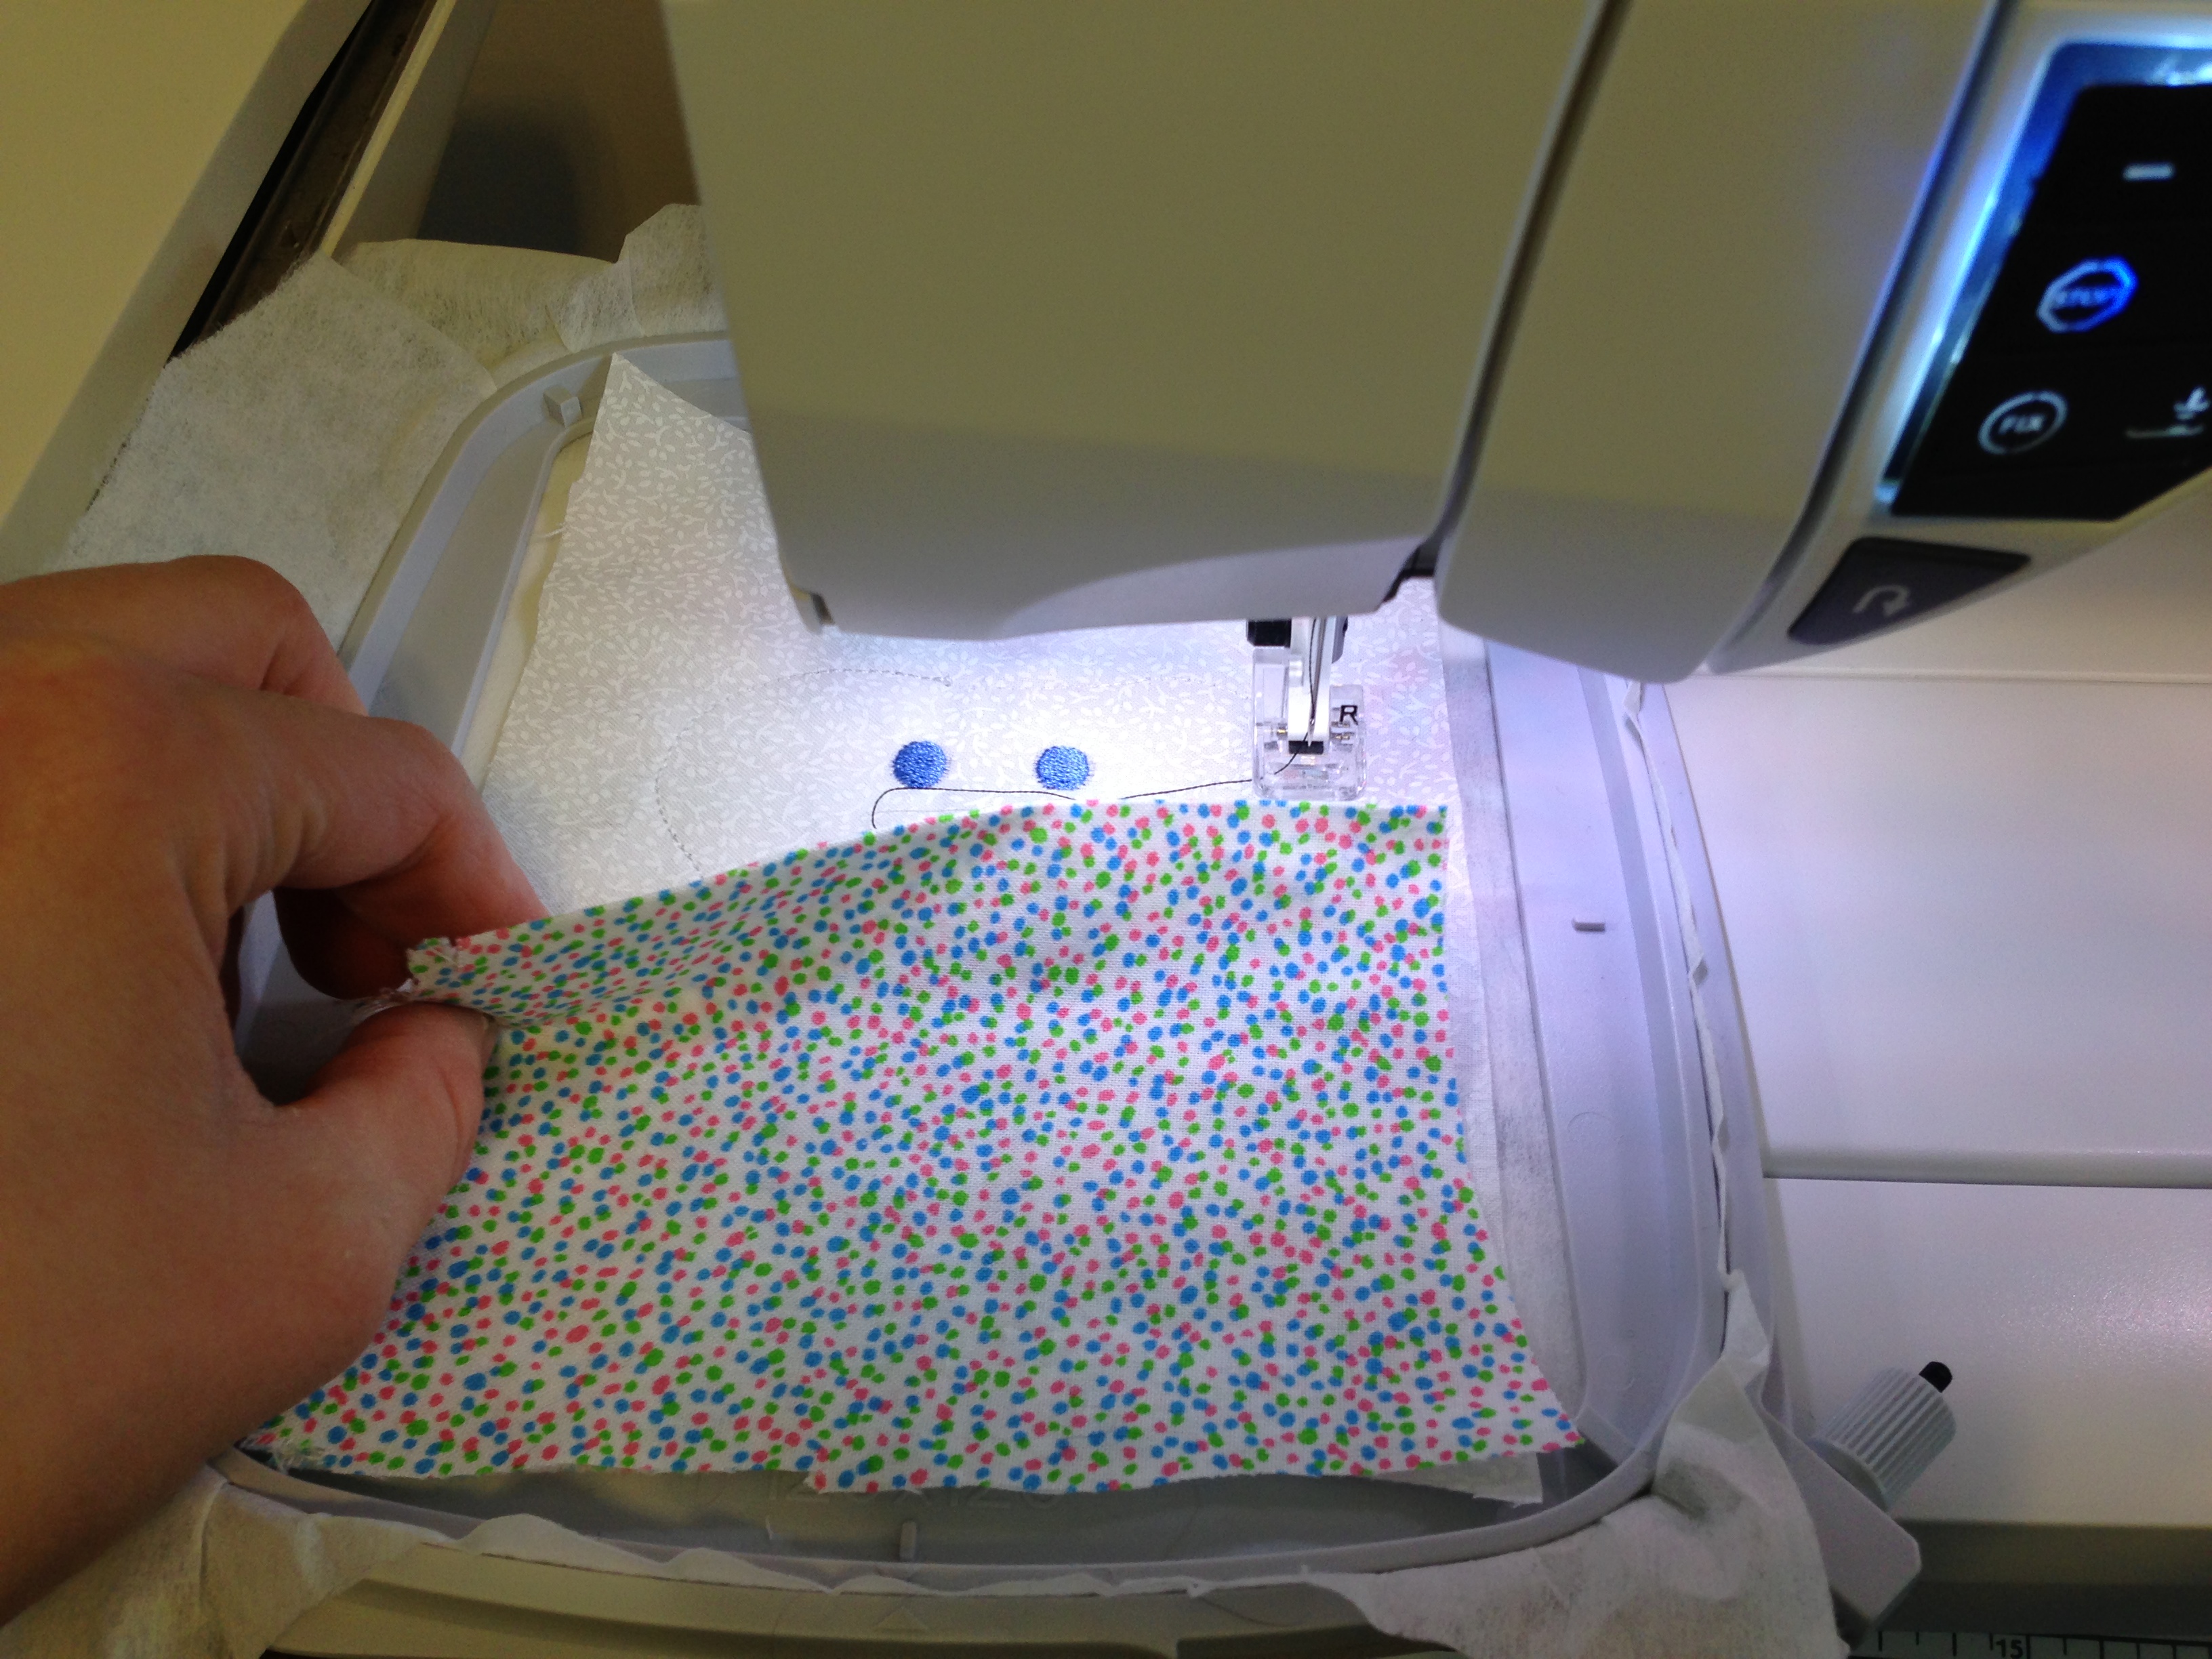
Next place the pocket fabric over the tooth.
Now place the back piece of fabric front side down over the entire design and sew step five. This is the seam stitch. Now remove it from the stabilizer, cut 1/8 - 1/4 inch from the seam, turn it right side out, stuff and stitch it up. Voila! Tooth Fairy pillow!
howcute-thanksforsharing