This design is super simple and super fun! All you need is some fabric, thread, stabilizer and stuffing. You will need two pieces of fabric for the body of the pillow, front and back. The pocket is made by pressing a piece of fabric in half.
Hoop the stabilizer only and sew step one. This is the die-line. Place your chosen front fabric over the die-line and sew step two. This is the tack-down.
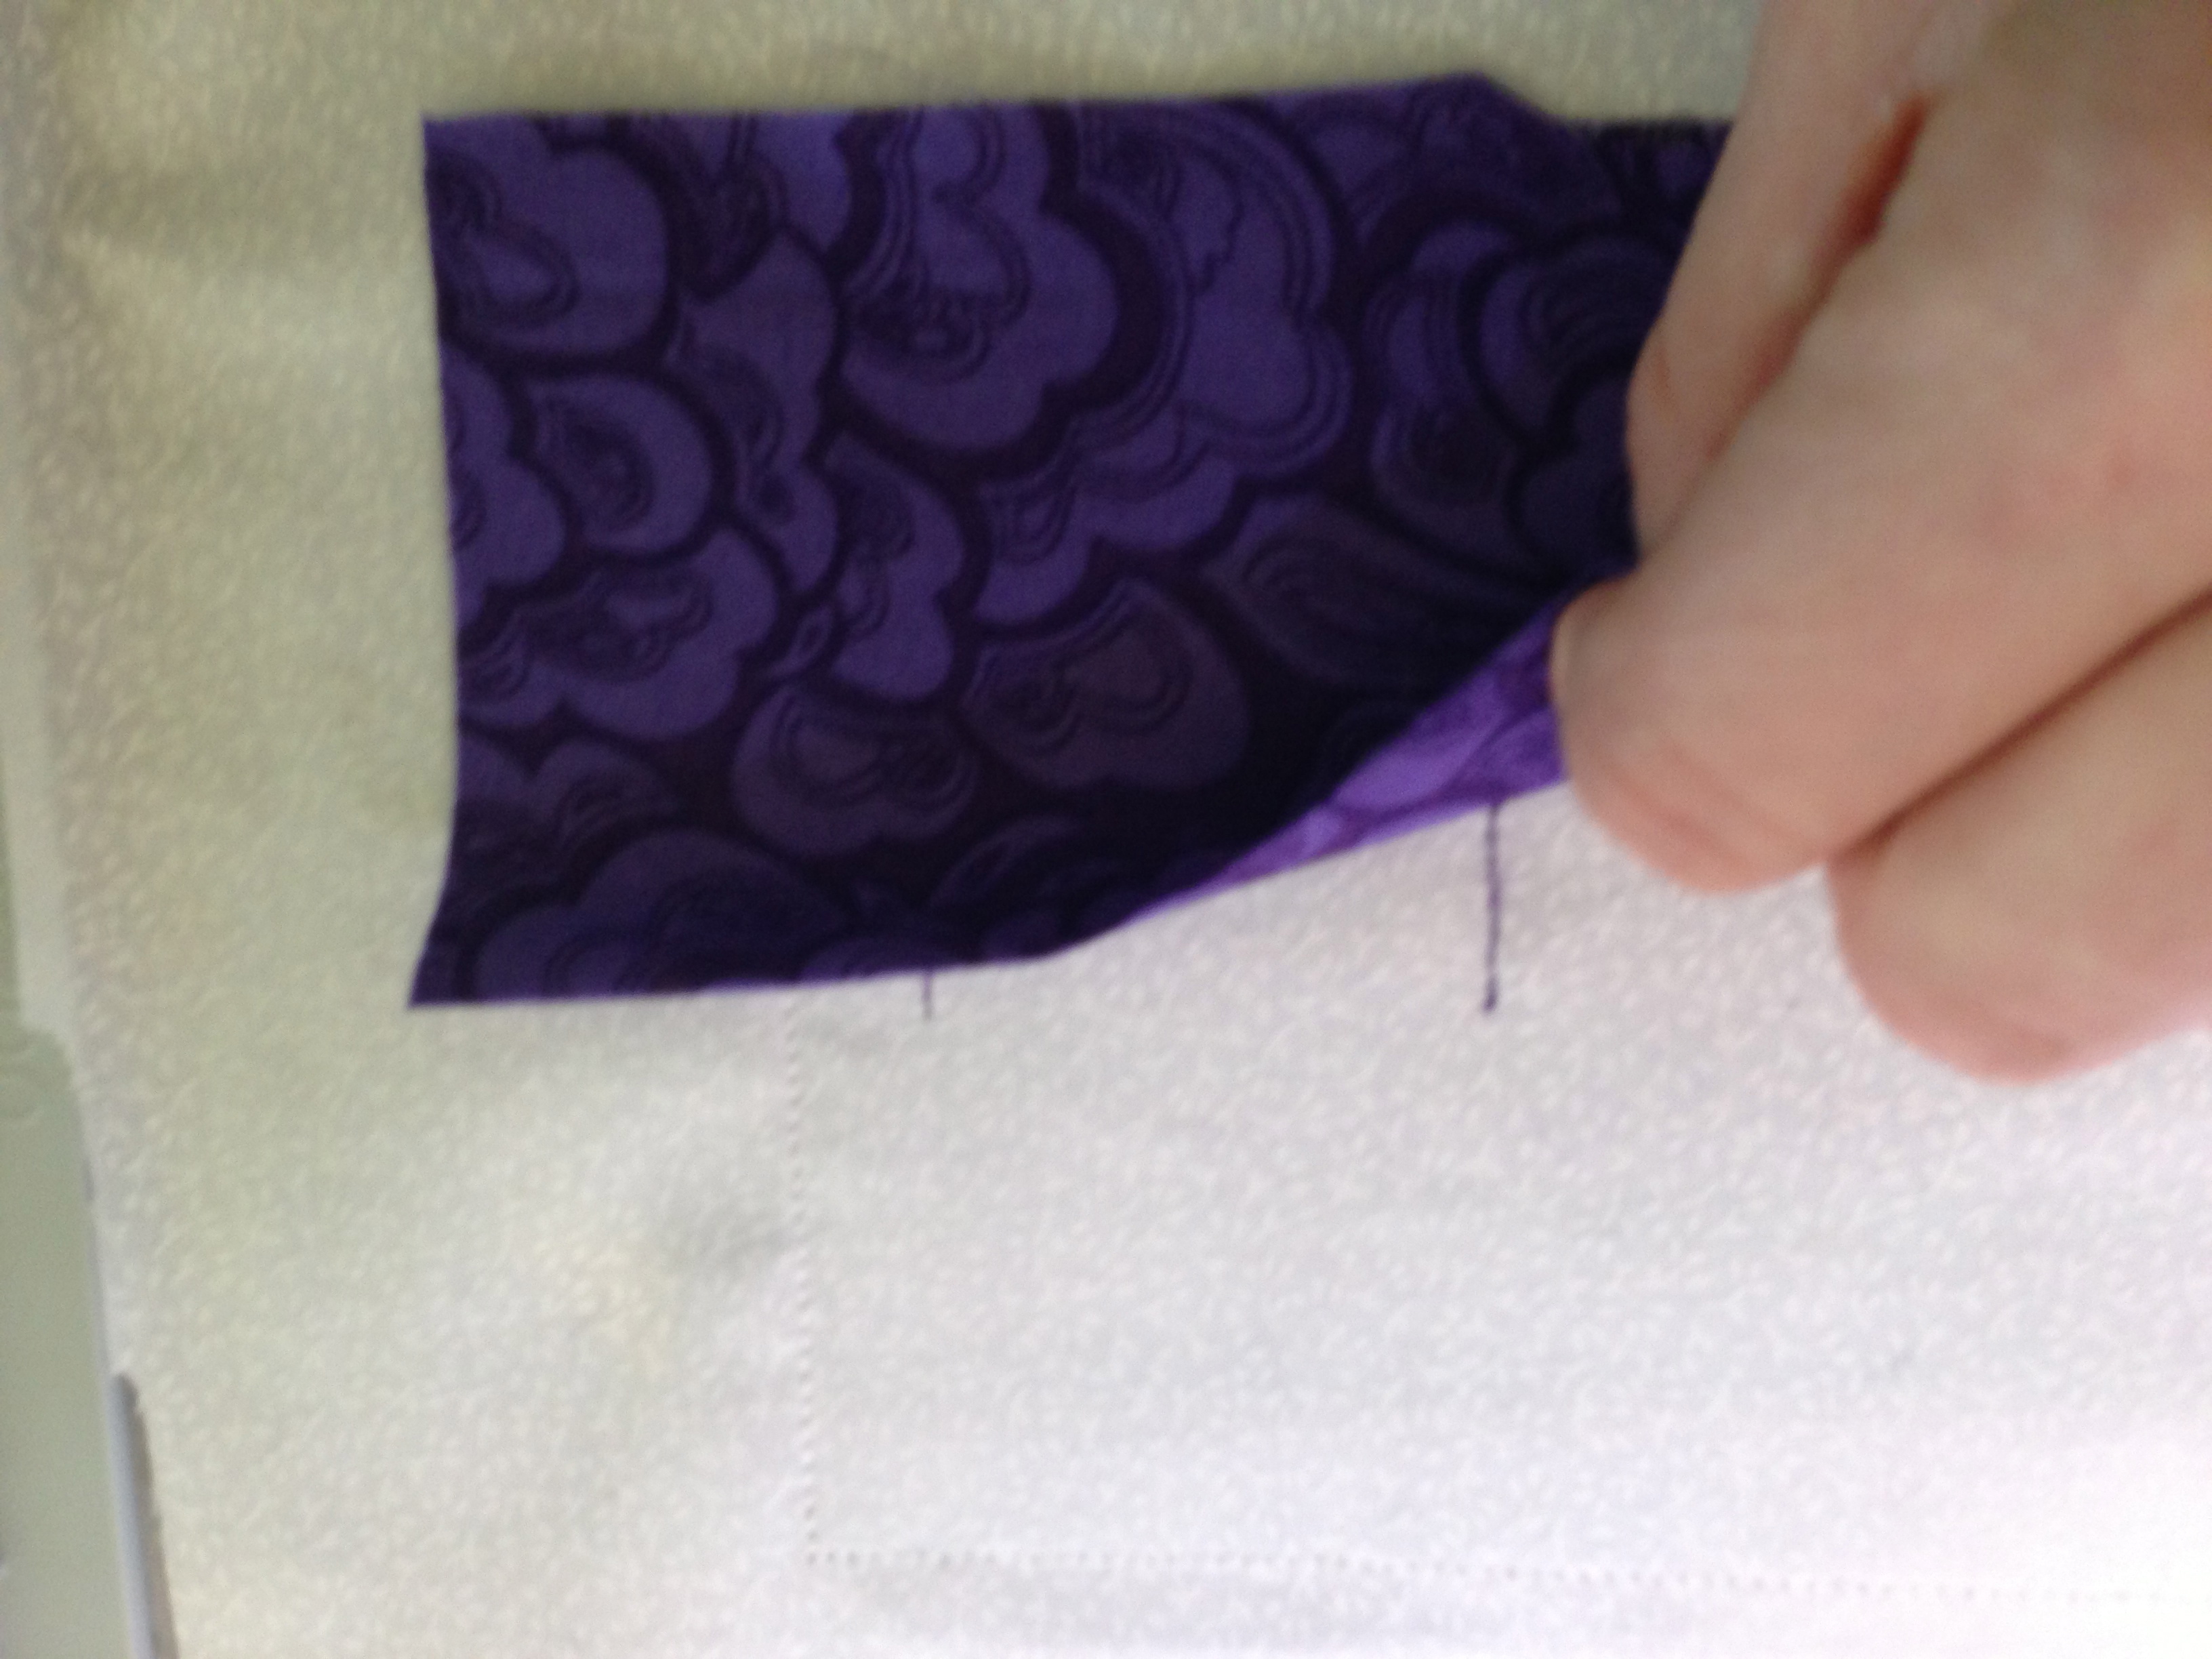
Next sew step three, the die-line for the pocket. Place the folded pressed fabric over the die-line with the folded edge matching up with the top of the die-line. Sew step four, the tack-down. Then step six which is the decorative stitch.
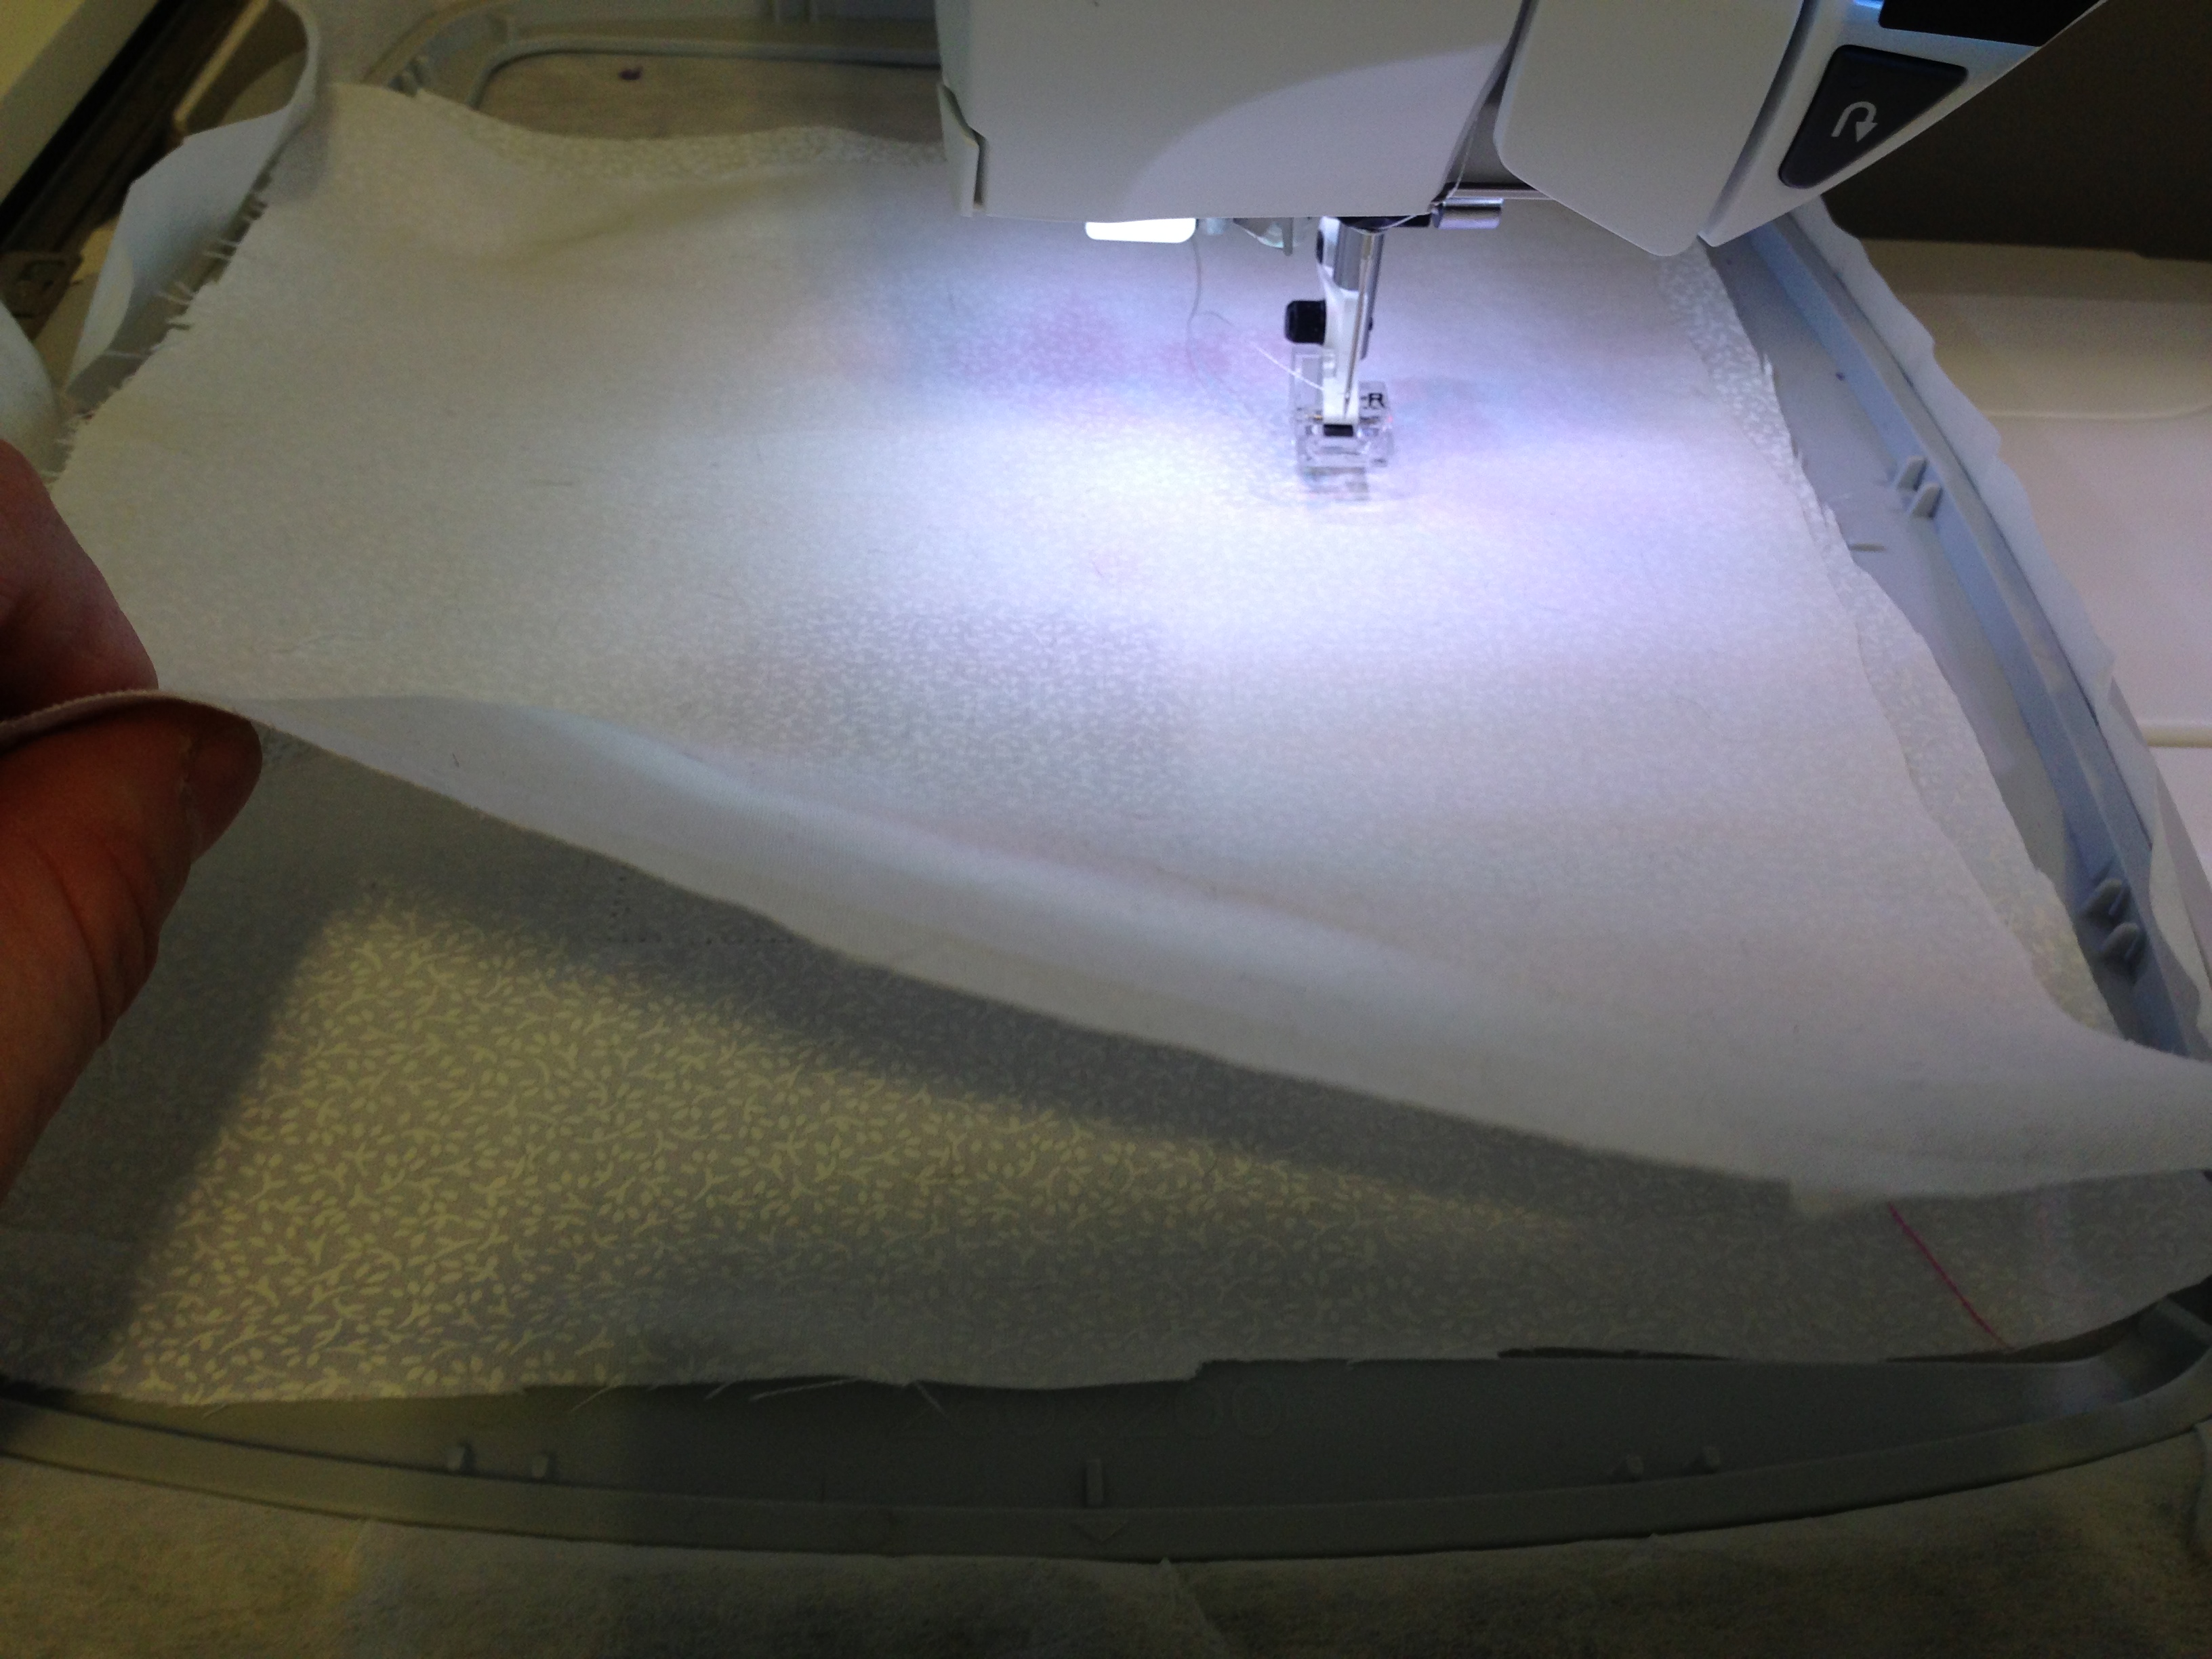
The next eight thread changes are the fairy (see attached PDF for details). After the fairy is complete place the back side fabric front side down and stitch the last step which is the seam or final tack-down. Remove from hoop, Now remove it from the stabilizer, cut 1/8 - 1/4 inch from the seam, turn right side out, stuff and stitch. Voila! Tooth Fairy pillow!